Last updated: May 24, 2026, checked against the official itch.io page and official v1.7 devlog from May 19, 2026.
Level 6 guide
Cobb Can Move Level 6 Guide
Level 6 is where many players stop using direct routes and start solving the room as a rule stack. The safe answer is slower, wider, and planned before the objective.
Evidence Status
How verified is this guide?
Version checked
v1.7, checked May 24, 2026
Route verified by
Community reports identify Level 6 as a common wall; route advice is public-video cross-checked and written as reproducible routing logic.
Spoiler level
Medium, with explicit spoiler route folded.
Unknowns
Exact objective placement can vary by current build/rule state, so route guidance focuses on lanes and recovery instead of fake coordinates.
Source base
Official itch.io page, official v1.7 devlog, Major Jam listing, public videos
Quick hint, no spoilers
Do not touch the objective until you know the loop
If your first instinct is the direct path, choose the wider route instead. Level 6 punishes confidence more than slowness.
Advertisement
Evidence screenshots
What each screenshot supports
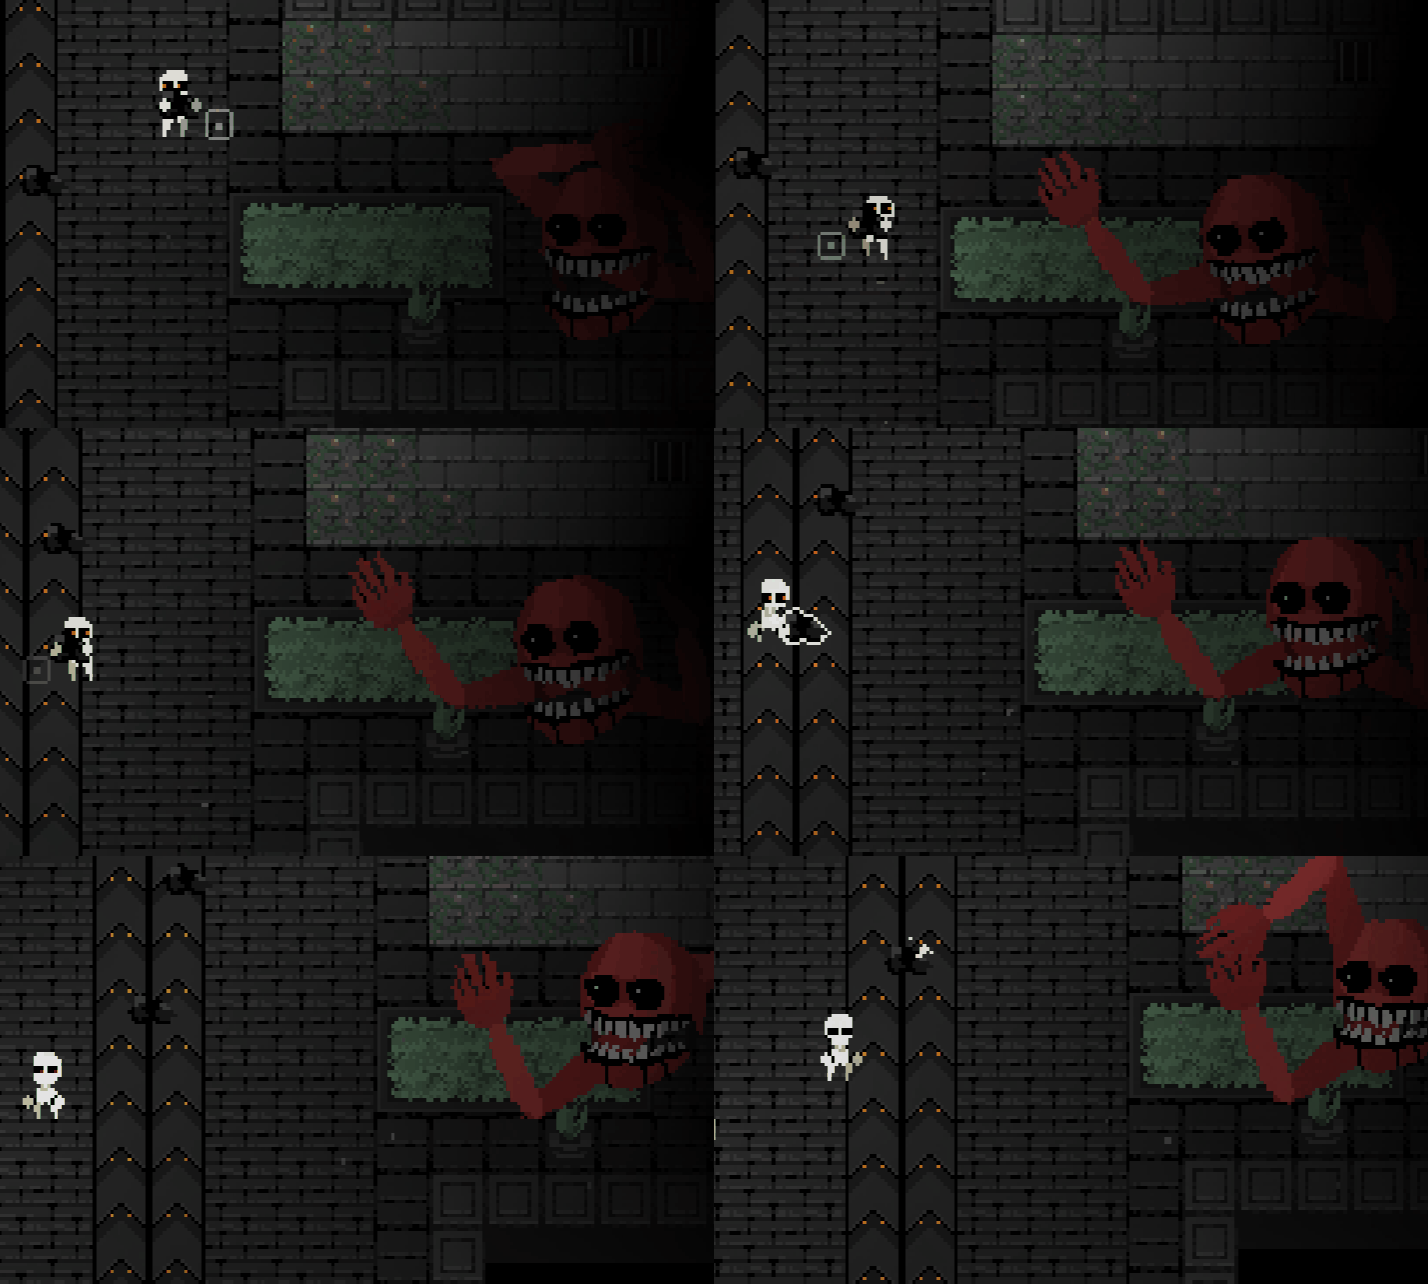
Rule screen
Read the active rule as a route command. If the sentence changes, your old safe lane may be wrong.
Source
Official itch.io screenshot / GIF asset cached locally for fan-guide context.
Proves
Rules are presented as active room information.
Objective marker
Use visible pickup, switch, exit, or room prompt as the current objective.
Danger lane
Any route that ignores the active rule text.
Safe loop
Outer lane first, objective second, return lane third.
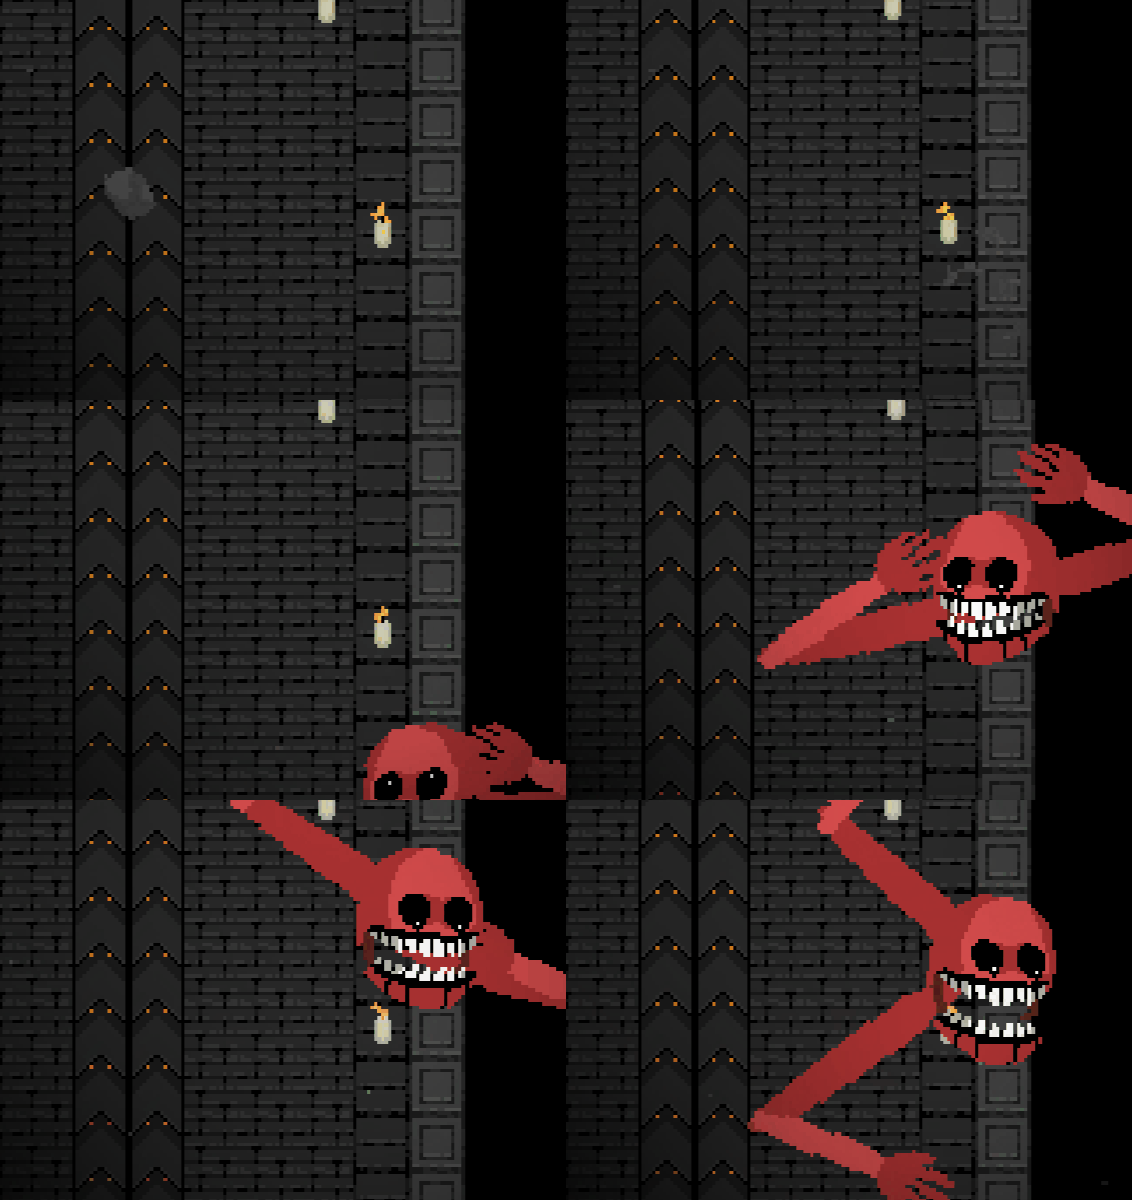
Open lane pressure
Do not cross open space until Cobb is offset and you already know the return path.
Source
Official itch.io screenshot / GIF asset cached locally for fan-guide context.
Proves
Open lanes and visibility shape safe routes.
Objective marker
Use visible pickup, switch, exit, or room prompt as the current objective.
Danger lane
Long open crossing while Cobb has line pressure.
Safe loop
Outer lane first, objective second, return lane third.
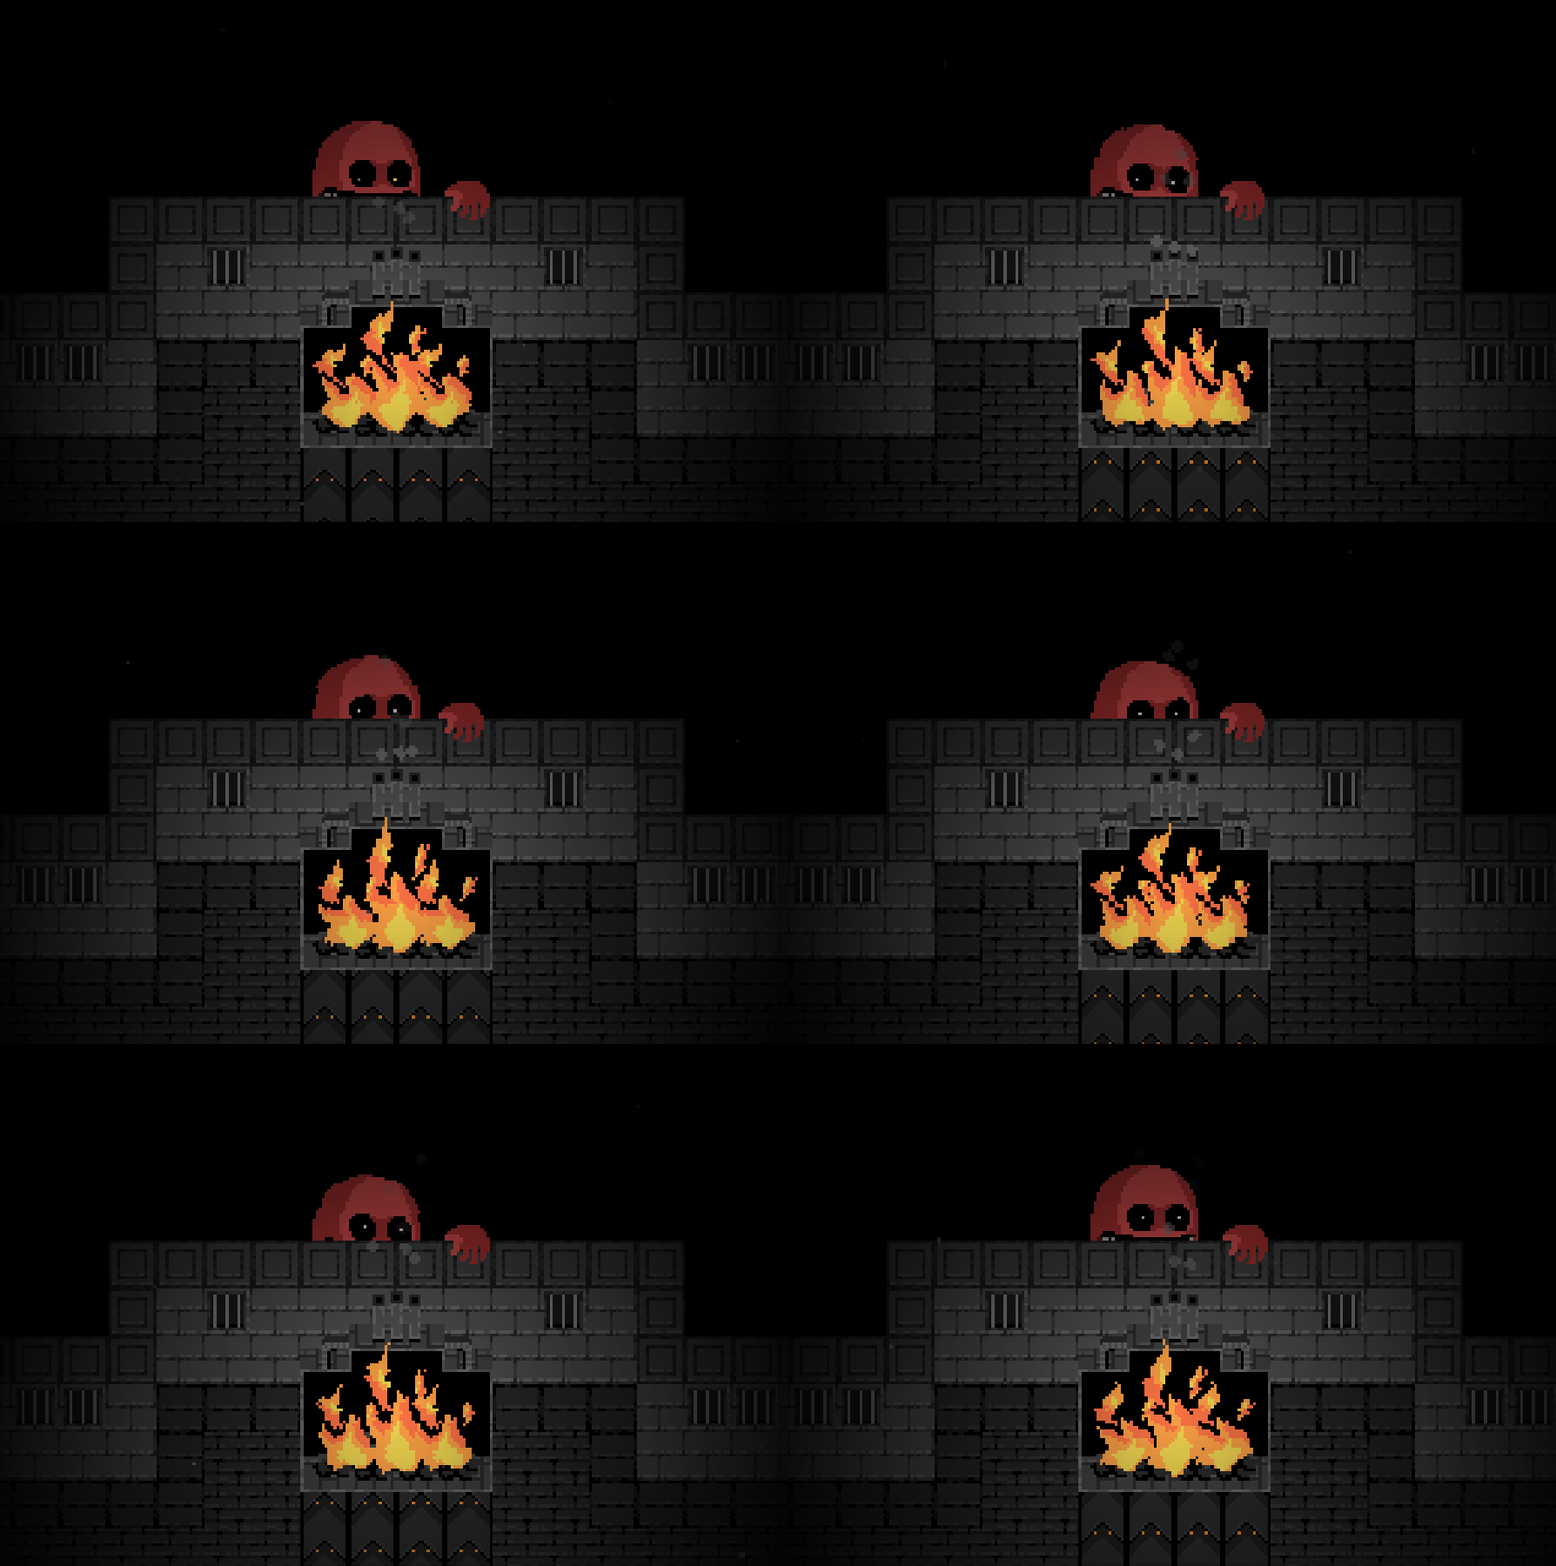
Objective room
Treat switches, pickups, furnace steps, and exit triggers as state changes, not simple errands.
Source
Official itch.io screenshot / GIF asset cached locally for fan-guide context.
Proves
Objectives can be room interactions, not just exits.
Objective marker
Visible room interaction or furnace-style objective area.
Danger lane
Direct path after interacting with the objective.
Safe loop
Outer lane first, objective second, return lane third.
Late-game pressure
When reach, smell, duplicate, or restored senses are active, nearby hiding becomes a failure point.
Source
Official itch.io screenshot / GIF asset cached locally for fan-guide context.
Proves
Late pressure makes close routes unsafe.
Objective marker
Use visible pickup, switch, exit, or room prompt as the current objective.
Danger lane
Nearby hiding when reach, smell, duplicate, or restored senses are active.
Safe loop
Outer lane first, objective second, return lane third.
Level 6 route
Recommended route map
Objective: Reach the visible objective and leave without letting Cobb own the return lane.
Failure point: Taking the center shortcut after the objective.
StartLoopCobbBackupWaitGoalSightExitWideReturn
If Cobb moves into the center, the direct path is no longer your route.
Community route source
Level 6 route note from itch.io comments
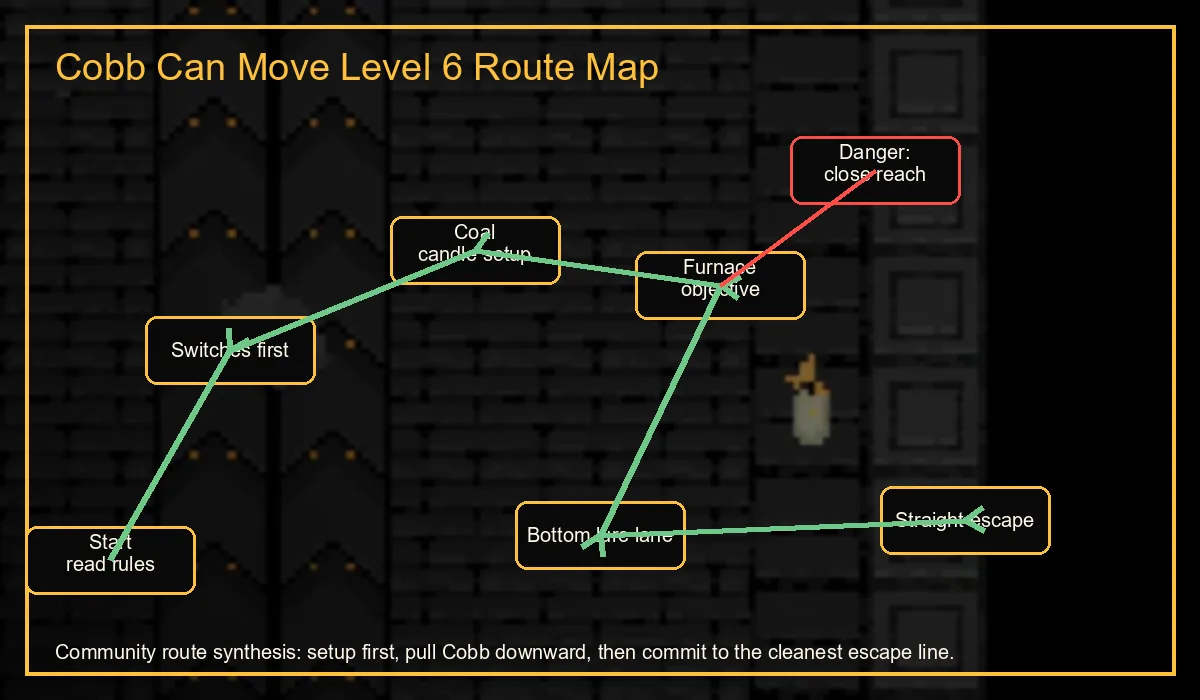
A detailed public itch.io route note repeatedly points to the same Level 6 pattern: do the room setup first, use the lower side of the room to pull Cobb away, then commit to a clean escape instead of trying to improvise beside the furnace.
Handle the switches before trying to finish the furnace objective.
Use the coal/candle/furnace sequence as a route commitment, not as separate errands.
When Cobb is close, bait him toward the bottom side of the room before crossing back.
Watch conveyor or lane timing so the return route is not blocked when Cobb can reach.
After the furnace step, run the cleanest straight line available instead of cutting a tight corner.
Source: public itch.io community route note, summarized in original wording and treated as route support rather than official developer documentation.
Level 6 safe-route map with objective and danger lane
Fan-guide route annotation built from locally cached Cobb Can Move gameplay imagery. The map is meant to teach lane discipline: setup first, lure low, then leave through the straight escape lane.
What this screenshot proves
Level 6 is not about a hidden item. The room asks you to finish setup while keeping the return lane open.
Objective marker
The furnace/objective side is the commitment point. Do not enter it until the bottom lure lane has bought distance.
Danger lane
The close center route collapses when Cobb can reach, smell, or own the lane after you interact.
Taking the objective before the switches or turning into a lane Cobb already owns.
Recovery
Drop the objective plan, widen to the bottom lane, reset Cobb's path, then return from the opposite side.
Why Level 6 is hard
The room teaches backup routing
Level 6 is a wall because it makes the obvious route feel almost right. The mistake is not usually missing a hidden item; it is touching the objective while Cobb can still collapse the only exit.
Full solution
Objective -> rules -> route -> recovery
Level objective
Complete the required room interaction while keeping a return lane open. The exact pressure can vary by build/rule roll, so route discipline matters more than memorizing one line.
Active rules to watch
Expect the first serious overlap of movement, sensing, reach, or route pressure. If Cobb can smell or reach, do not use close hiding.
Safe route
Start on the outside lane, look for the longest loop, then approach the objective from the side that leaves the exit visible. If Cobb shifts toward the direct lane, abandon the objective and widen the loop.
Conservative route
Wait until Cobb commits away from the exit lane, then take the objective and retreat through the widest side of the room. If the lane closes, skip the objective and reset distance.
Fast route
Use the same wide loop, but cut the waiting time only after Cobb is visibly committed. The shortcut is timing, not a tighter path.
Common mistakes
Touching the objective before planning the return, hiding too close, and reversing through a hallway that Cobb is already controlling.
What not to do
Do not squeeze past Cobb, do not reverse through the same lane after Cobb reacts, and do not assume close cover is safe if smell or reach is active.
Recovery plan
If Cobb enters your lane, stop forcing the objective. Pull Cobb around the outer side of the room, regain space, then return from a safer angle.
Death diagnosis
Why Cobb keeps catching you
I died in open space
Likely cause: Cobb can see
Fix: Break line of sight before crossing and move cover-to-cover.
I died while hiding nearby
Likely cause: Cobb can smell or reach
Fix: Stop camping close. Use the outer loop and add more distance.
Two Cobbs trapped me
Likely cause: Cobb can duplicate
Fix: Your route had one exit. Pull one threat away before touching the objective.
I died right after a pickup
Likely cause: Rule state changed
Fix: Pause after each interaction and rebuild the active-rule list.
The ending feels random
Likely cause: Restored senses
Fix: Treat every final-room action as a new mini-level.
Spoiler layer
Read only if still stuck
Level 6 spoiler route logic
The winning idea is not a secret object; it is refusing the obvious shortcut. Touch the objective only when Cobb is committed to the long side and your exit lane remains open.
30-second summary
How to beat Level 6
Find the widest loop before touching the objective.
Approach only when the exit lane is open.
If Cobb controls the center, reset around the outside.
Finish through the route you planned before the pickup.
Page FAQ
Fast answers for this guide
Why do I keep dying on Level 6?
Level 6 punishes the direct route. Plan the return lane before the objective and use the wide outer loop when Cobb controls the center.
What should I do if Cobb sees or hears me on Level 6?
Break sight first, stop forcing the objective, and pull Cobb around the long side before you return.
Is Level 6 random?
The rule state can make the room feel variable, but the reliable answer is still route discipline: objective, loop, backup lane, then exit.
Use: Official facts: developer credits, platform, input support, rating signal, screenshots, downloadable/browser builds, tags, and current public game metadata.
Use: Visual reference for late-game pressure and route collapse patterns.
Authority: Specific public gameplay video
Status: Checked May 24, 2026
Guide feedback
Report a route change or ending detail
If a route changes, a new ending is verified, or a control prompt differs in the current build, send the page and what changed. This helps keep the guide source-based instead of rumor-based.
Facts such as developer credits, platform, version status, jam rankings, and rating signals come from official itch.io pages, the official v1.7 devlog, and the official Major Jam listing. Route advice is written in original wording from current build observations, public video cross-checks, and aggregated community pain points, not copied comments.